
Microgreens are like the superheroes of the food world – tiny, vibrant, and packed with incredible health benefits. These miniature plants may be small in size, but when it comes to flavor and nutrition, they’re anything but ordinary. Discover how to grow microgreens and imagine the size of the “super salads” you can create right at home, bursting with intense tastes and vibrant colors!
Microgreens are best grown at home and are typically harvested 7 to 21 days after seeds germinate, depending on the type of microgreens you choose to grow. They are preferred for their fresh flavors and are considered a primary gem of health and wellness.
Today, I will introduce you to microgreens, their remarkable benefits, and how you can grow these miniature veggies in your kitchen or garden. Although microgreens are only one avenue you can take to grow homemade vegetables, in this article, I’ll teach you everything from prepping your containers for sowing to incorporating them into your meals!
Keep reading and be ready to enjoy the taste, nutrition, and endless possibilities of embracing the wonderfully unique world of microgreens!
Humble Highlights
- Discover the unique characteristics of microgreens, health benefits, and the different types to unlock the secret of these innovative and versatile plants and grow your own from home – even if you’re a total beginner!
- Save time with these valuable microgreen resources, including the uses of 7 of the most popular greens, how to cultivate them from home, essential tools you’ll need to get started, and how to care for these exceptionally delicious plants more efficiently.
- Stop guessing how to incorporate these tasty plants into your meals and instantly use our quick-start recipe for your first day so you can include healthy micros from morning to night!
What Is A Microgreen
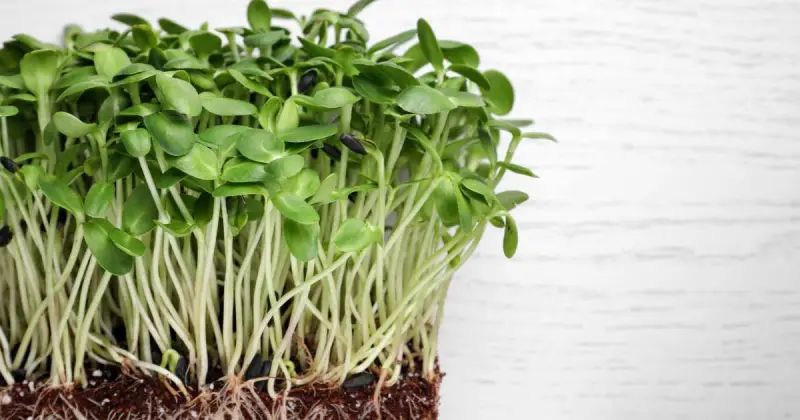
Microgreens are tiny, young plants harvested at a very early stage of growth, typically when they have just developed their first pair of true leaves and are about 1 to 3 inches tall. These baby greens are more mature than sprouts yet smaller than baby salad greens.
Microgreens are best eaten raw and packed with flavor and nutrients, making them a popular addition to salads, sandwiches, and various dishes.
Many different types of microgreens make an excellent addition to any diet and may have fantastic health benefits when consumed regularly. Of course, you should always consult your physician before starting or amending dietary preferences. Still, when consumed, these tiny greens may help reduce the risk of heart disease and promote many additional health benefits. And the best part is they can also be grown year-round. 1
Unique Characteristics
- Microgreens are known for their tiny size, often no larger than a few inches tall and much smaller than mature plants typically found in a traditional garden.
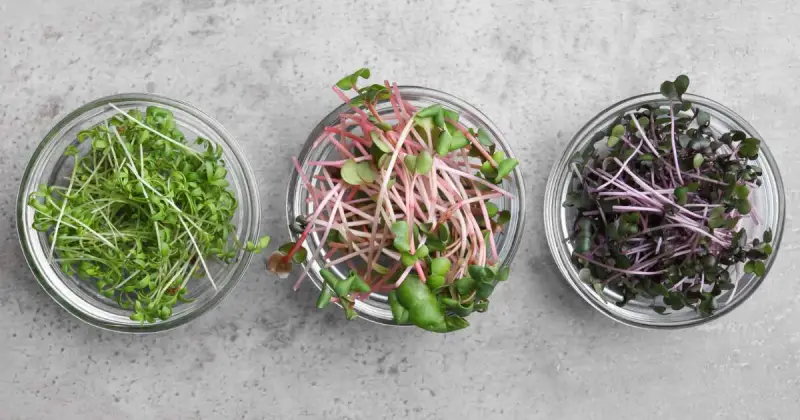
- Despite their small size, these plants burst with intense flavors. Depending on the type, like amaranth microgreens, which can elevate the flavors of any dish, each variety can have a unique taste, ranging from spicy and peppery to nutty and earthy.
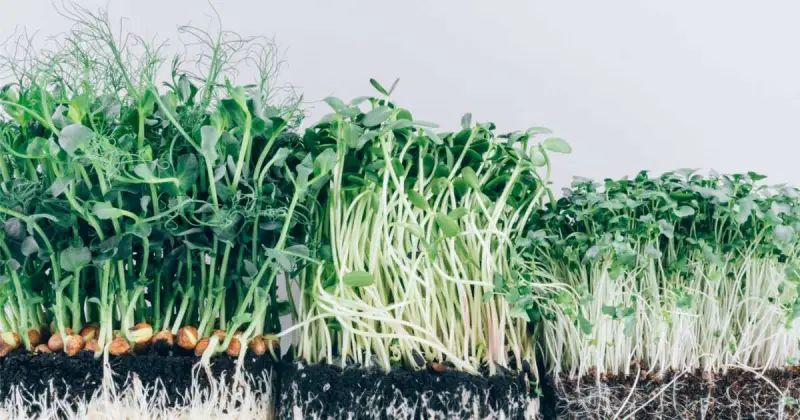
- Microgreens can successfully be grown in soil, coco coir, a grow mat, hydroponically, or using various other methods.
Health Benefits Of Microgreens
Microgreens offer many health benefits, with some varieties containing up to 40 times more vitamins and minerals than their fully-grown counterparts.
Remember, most microgreens are packed with vitamin C. Broccoli microgreens, for example, may be considered a superfood as they are chock full of vitamins, minerals, and antioxidants that support and maintain health. You can find more information on the health benefits of microgreens in the full article linked here. 2
Different Types Of Microgreens
| Types | Flavor | Uses | Growth Time (Days) |
|---|---|---|---|
| Basil Microgreens | Strong, aromatic, sweet basil with hints of pepper and mint | Garnishing pasta, pizza, salads, adding flavor to sandwiches and soups | 18 to 20 |
| Radish Microgreens | Spicy and peppery, similar to full-grown radishes | Zesty flavor in salads, sandwiches, tacos, and garnishing dishes | Less than 10 |
| Sunflower Microgreens | Mild, nutty flavor with a crunchy texture | Salads, wraps, sandwiches, smoothies | 10 to 14 |
| Pea Shoot Microgreens | Fresh, sweet, slightly earthy taste like young peas | Salads, stir-fries, topping for soups, adds a delicate crunch and sweetness | 6 to 14 |
| Arugula Microgreens | Peppery, slightly spicy, adds a kick to dishes | Salads, sandwiches, pizzas, garnish for savory dishes | 10 or over |
| Cilantro Microgreens | Citrus and herbal notes; similar to mature cilantro leaves but in a more concentrated form | Fantastic for Mexican and Asian dishes, garnishing salsas, tacos, and curries | 14 to 20 |
| Kale Microgreens | Earthy, slightly peppery taste | Great for enhancing the flavor and nutrition of salads, sandwiches, and wraps | 8 to 12 |
Of course, the microgreens listed in the table above are just a few types you can try, with each one adding unique flavor profiles and a satisfying crunch to your food.
Remember that the time it takes to grow can vary depending on the light, warmth, and humidity they receive. However, the growth times mentioned provide a general idea of when you can enjoy these tiny greens on your plate – which won’t take long.
Microgreens vs. Sprouts
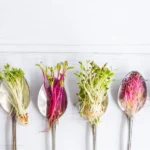
Sprouts and microgreens are both popular choices for adding a burst of freshness and nutrition to your meals, but they have distinct differences in terms of growth, flavor, and usage.
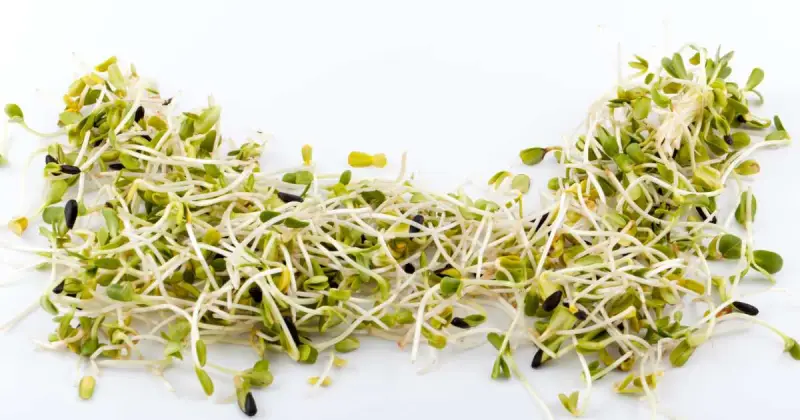
Sprouts are germinated in water and eaten right after seeds start growing, while microgreens get a bit more time to grow leaves before they’re ready to harvest and consume. 3
Check out the full article for more information and an in-depth discussion about microgreens and sprouts and which is best for you.
The Basics: How To Grow Microgreens At Home
Microgreens are easy to grow, and you only need five things: soil, light, water, a tray, and your microgreens. If you’re a novice, broccoli, radish, and beet microgreens are excellent selections. They’re quick, take 7 to 14 days to grow, and consume only a little space, soil, or water. Plus, they’re a low-maintenance option, and you can raise them in soil or even in water.
In fact, you can take your growing up a notch and create an entire microgreen business. Of course, you’ll need to file your business correctly by following the laws of your city, state, and county, but if you love growing these little greens, it may be worth investigating.
It is best to start with the easiest microgreen to grow to avoid wasting your time and money. As provided above, some of the easiest to grow are radish, cilantro, basil, kale, and sunflower microgreens. 4
These microgreens are generally forgiving and suitable for beginners, making them an excellent choice for those new to microgreen cultivation. They require minimal equipment and can be grown on a windowsill or balcony with proper care.
Harvesting your microgreens is another matter altogether. In fact, it can even be considered an art, as these delicate plants tend to rip or tear when not picked correctly, damaging the plant and shortening its shelf life. I wrote an article about how to harvest microgreens from start to finish to help you care for these plants – even after you’re finished growing them.
Thinking about cultivating your own micros so you’ll have access to these delicious and nutritious greens all-year round? It’s easier than you might think – even if you’re a beginner. Press play on the video below to see just how quick and fun it is to grow your very own microgreens from the comfort of your own home!
Remember, even though microgreens take a short time to grow, you’ll still need to refrigerate them properly for proper storage. Check out my article on how long microgreens last and how you can extend their shelf life, even after they’ve been harvested!
Growing Microgreens Outdoors
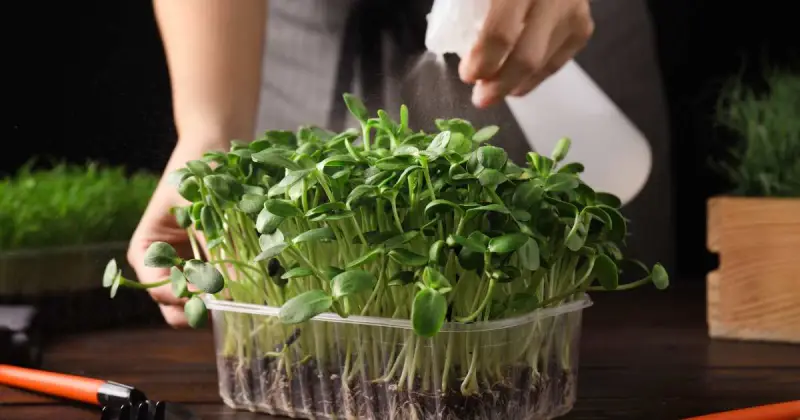
You only need four simple things: soil, a tray or container, a spray bottle filled with water, and your choice of seeds. With these essential tools, you’re well on your way to enjoying bountiful, fresh, and vibrant microgreens in your outdoor space.
Are you curious about the step-by-step process and tips for successful outdoor microgreen cultivation? Explore our comprehensive guide on how to grow microgreens outdoors for detailed instructions and expert insights. 5
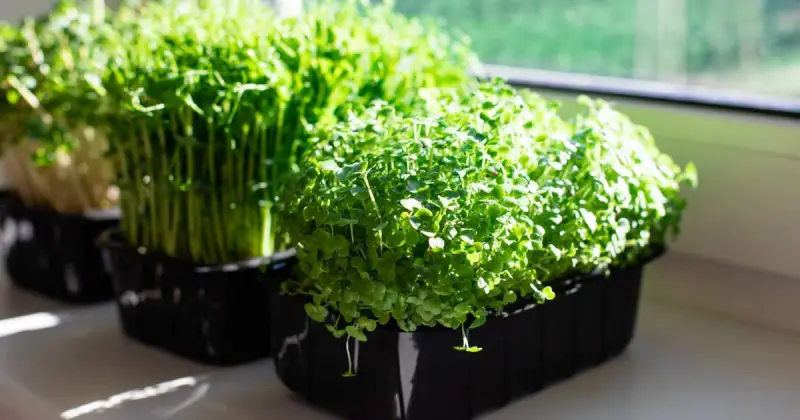
How To Grow Microgreens Indoors
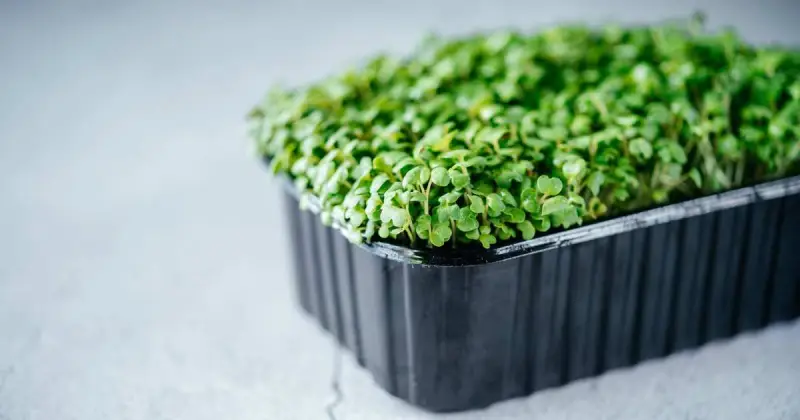
You only need light (LED light), soil, water, and a container to cultivate micros indoors. You can choose any container around the house, whether a shoebox, a plastic container, or even an egg tray, so long as it’s shallow.

Quick Steps:
- Clean your chosen container
- Fill it with soil, preferably leaving about half an inch from the top
- Scatter the seeds evenly
- Spray water to keep the soil damp
- Wait for the first true or mature leaves to grow
- Harvest when ready
Microgreens Lights
Microgreens won’t grow if they lack the light for the first set of true leaves to emerge. This critical stage typically occurs just after seed germination but before they fully sprout.
For more in-depth information about providing the proper lighting for your microgreens and the importance of the light spectrum, refer to our full article on microgreen lights.
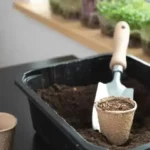
Best Soil For Microgreens
When cultivating vibrant and nutritious microgreens, selecting suitable soil is a crucial first step. Microgreens are delicate, young plants that rely on a nurturing environment to flourish, and the choice of soil can significantly impact their growth and flavor. 6
The versatility of microgreens is amazing. These tiny greens can surprising grow just as well without soil. Here is a link to the full article on the best soil for microgreens AND how to grow them without this usual staple.
How To Water Microgreens
Proper watering is an essential aspect of successfully cultivating microgreens. These tiny, nutrient-packed plants have an absolute need for water if anyone is looking to produce a bounty of fresh and flavorsome greens.
Here is a link to the full article and in-depth guide on how to water microgreens.
Be cautious not to overwater or underwater your microgreens, as certain microgreen seeds can react negatively to improper watering. The best way to ensure your greens stay hydrated is to keep the soil or growing media wet but not saturated, which allows the roots to absorb water efficiently without becoming waterlogged.
How To Get Rid Of Mold On Microgreens
While there are many benefits to growing your microgreens, these delicate greens can sometimes fall prey to a familiar foe: mold.
Check out my complete guide here to learn more about molds and discover effective and easy methods to eliminate them.
When To Harvest Microgreens
Microgreens are the juvenile stage of various herbs, vegetables, and leafy greens. They are cut and gathered at a specific growth stage, just after they develop their first pair of true leaves, which come after the first set called seed leaves or cotyledons. At this stage, microgreens have absorbed a significant amount of nutrients from the seed, and their flavors are at their peak. 7
As each microgreen variety grows differently, you must understand the peak time to harvest your plants. But when exactly is the right time to harvest your greens? Microgreens are best eaten when freshly picked, unlike mature vegetables. Knowing when to eat them involves understanding the typical harvesting time of microgreens.
Check out my article on when to harvest microgreens so you’ll continually be reaping your tiny crops at their best.

Do Microgreens Regrow After Cutting
Microgreens are typically harvested only once, and then they’re done. However, certain microgreens can regrow after cutting.
Do you want to know if the variety of microgreens you’re growing can regrow for a future harvest? Check out this entire article on whether microgreens can regrow after cutting.
Study the nature, character, and behavior of the microgreens you want to grow, especially if you aim to create a microgreen business. While microgreens are generally considered a one-time cut, this belief is only partially accurate for some varieties.
List Of Microgreens Recipes
Specific microgreens contain high levels of antioxidants that may reduce sugar levels in your body. This means that these edible vegetables and herbs provide a healthy diet, while studies show that microgreens may benefit those dealing with diabetes, heart problems, and liver issues.
Try our easy yet delicious recipes below and enjoy the various benefits of microgreens straight from your very own home. 8
Breakfast: Scrambled Eggs With Kale Microgreens
Ingredients:
- 2 eggs
- a pinch of salt and pepper to taste
- olive oil (or any cooking oil you want)
- choice of cheese
- kale or arugula microgreens
Steps:
- Cook your eggs in a medium-heat pan
- Add a pinch of salt and pepper
- Once they are cooked to your liking, serve them on a plate
- Take your fresh kale, arugula, or other microgreens you have and wash them
- Using a pair of scissors, cut the microgreens on top of your scrambled eggs
- Serve
Lunch: Pan-Seared Salmon With Broccoli Microgreens
Ingredients:
- 4 (6 ounce) filet of salmon
- 2 tablespoons olive oil
- ⅛ teaspoon salt
- ⅛ teaspoon ground black pepper
- 4 slices lemon
- broccoli microgreens
Steps:
- Cover the salmon filet with olive oil, pepper, salt, and lemon
- Pan-sear the salmon until it is golden on both sides, then set it aside
- Cut your broccoli microgreens and place them on top of your salmon
- Serve
Dinner: Cold Smoothie Cilantro Microgreens
Ingredients:
- 2 ounces of cilantro
- 1 cup of mayonnaise
- 6 tablespoons of extra virgin olive oil
- 1 tablespoon of water
- 3 cloves of garlic
- 3 tablespoons of lime juice
- Salt and pepper to your liking
Steps:
- After prepping your ingredients, blend everything together
- Add water as needed, depending on the consistency you desire
- Serve
The best way to start growing microgreens at home is to take the first step. That’s why I created an entire article and definitive guide devoted to cultivating these tiny greens quickly – even if you’re a complete novice!
Conclusion
Microgreens are young, tiny, super flavorful, and nutrient-packed versions of regular greens. You can grow them at home or buy them in stores, although cultivating these unique greens at home will save you tons of money. Microgreens can help add a burst of flavor and a dose of healthy nutrients to your meals.
From the convenience of growing them indoors to the joy of tending to an outdoor microgreen garden, the journey into this miniature world is accessible to all, including beginners. Starting with easy-to-grow varieties like radish, cilantro, basil, kale, and sunflower microgreens ensures you embark on a rewarding and hassle-free cultivation experience.
Microgreens, with their intense flavors and compact size, bring freshness to every dish, from breakfast scrambled eggs to dinner salmon filets. Their nutritional prowess, including high levels of antioxidants, makes them a healthy choice for anyone.
Consider adding microgreens to your garden, as they are an incredibly convenient, delicious, and profitable choice. Plus, they remain fresh for an extended period when stored properly. So, give them a try and savor the fresh, vibrant world of microgreens in your food!
What micros do you currently cultivate at home with continued success? Let us know in the comments below and let us know how long you’ve been caring for these unique and popular greens.
SOURCES
- Wikipedia – Microgreen
- ScienceDirect – Nutritional Quality And Health Benefits Of Microgreens, A Crop Of Modern Agriculture
- National Library Of Medicine, National Center For Biotechnology Information – Sprouts vs. Microgreens As Novel Functional Foods: Variation Of Nutritional And Phytochemical Profiles And Their In Vitro Bioactive Properties
- ResearchGate – Innovative Farming Of Edible Micro Greens At Home And Their Nutritional Composition
- University Of Florida – Microgreens
- University Of Purdue, Extension – Grow Microgreens At Home
- Penn State University – Growing Microgreens
- Oklahoma State University, Extension – Microgreens
Related posts:
 How To Grow Microgreens At Home (definitive guide)
 Do Microgreens Regrow After Cutting
 Choosing The Best Soil For Microgreens (the secret to success)
 Growing Microgreens Outdoors (the joy of microgreens in your backyard)
 Selecting The Best Microgreen Soil (how to sow, grow, and make your micros glow)
 Amaranth Microgreens (nutrition and growing guide)
