
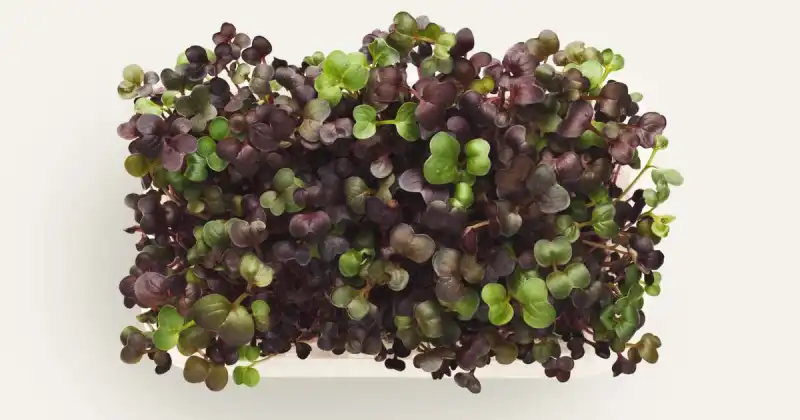
Welcome to the world of microgreen growing! Whether you are a new or experienced grower, plants need light to mature correctly. Without it, these tiny plants may not reach their full potential, resulting in poor quality and lower yields. But with so many different microgreen lights, how do you know you’re making the best decision for your needs?
Here, we will explore everything you need to know about microgreen lighting, including the best grow light options and some helpful insider tips for achieving optimal light intensity and duration to help your greens grow right. In addition, we’ll cover the different types of available lights, the ideal light intensity and time, and tips for avoiding common challenges growers face with grow lights.
Choosing appropriate lights, such as fluorescents and LEDs, is crucial when growing microgreens. Also, for a more “hands-free” practice, investing in an excellent light timer and tray rotator that allows your light to distribute evenly across your growing container should be considered. Finally, avoid any light, including sunlight, during initial microgreen germination, or the seeds will run out of energy, stunting their growth.
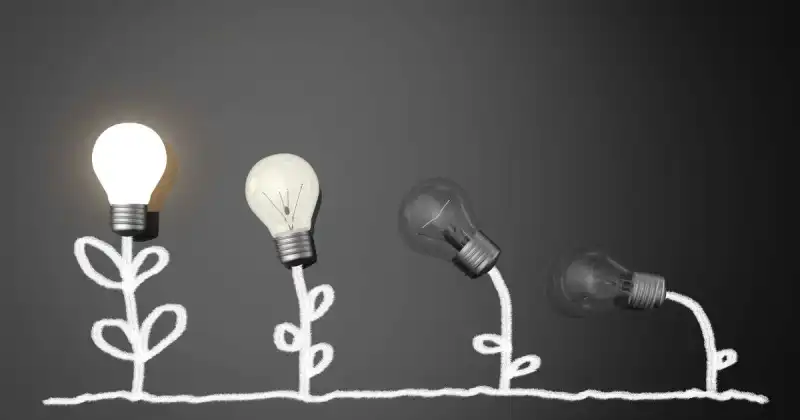
Remember, lighting is a crucial component of the microgreen growing process, and selecting the appropriate one can mean all the difference between a bountiful harvest and a discouraging one. So, whether you are new to growing microgreens or looking to take your gardening skills to the next level, this guide will equip you with the knowledge needed to help produce healthy and high-quality crops. So, let’s roll up our sleeves and get growing!
Humble Highlights
- Save time by learning what different microgreen growing lights are available and which option may be best for you to grow your best greens consistently and productively – even if you’re just beginning!
- Discover these 5 pillars of crucial do’s and dont’s when lighting your microgreens so you can understand indoor and outdoor lighting options like an expert.
- Understand the 3 most vital factors affecting microgreen lighting so you can grow healthy and nutritious microgreens for the whole family year-round!
Getting To Know Microgreen Lights
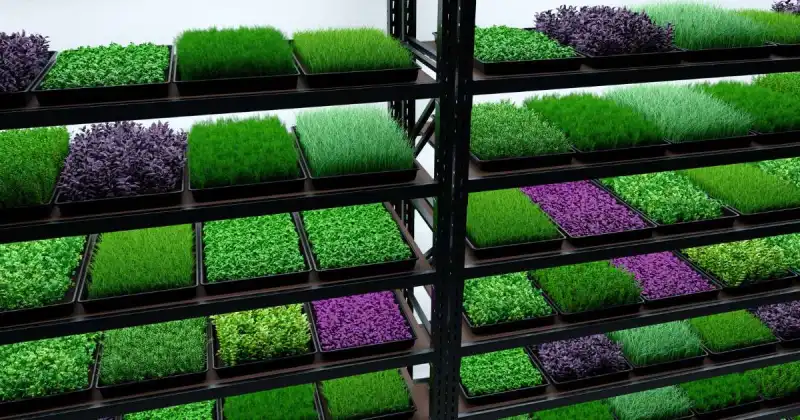
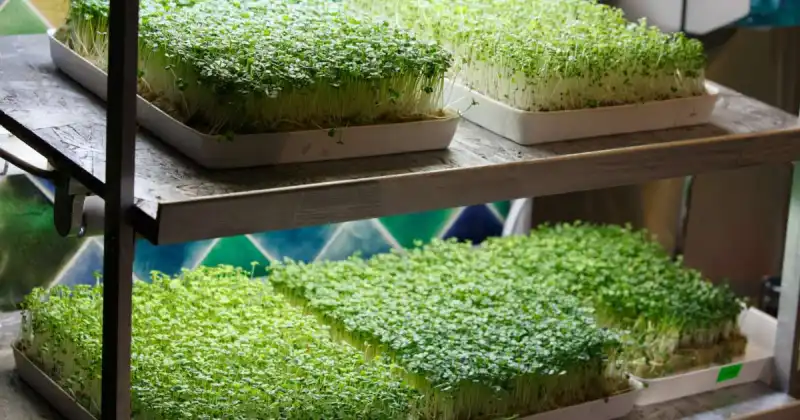
Proper lighting for microgreens is essential for indoor growing, as natural light may not be readily available or sufficient, especially with the unpredictability of Mother Nature. Adequate indoor lighting also provides the advantage of year-round microgreen production, making it possible to grow fresh and nutritious greens in harsh climates and over the colder winter months.
Proper Lighting Is Key To Successful Growth
Ample lighting is crucial for growing microgreens after the initial germination phase. Microgreens require a specific amount of light and darkness to grow appropriately. Therefore, proper lighting and timing offers your microgreens an excellent chance to grow to their full potential, leading to healthier plants with higher yields.
Additionally, using the wrong type of light or not positioning lights correctly, whether too close or too far away, can cause uneven, spotty growth in your trays and, if not corrected, may even cause substantial damage to the plants. 1
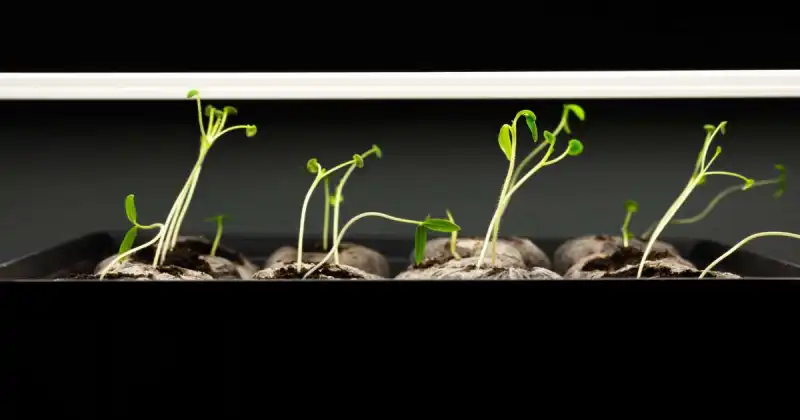
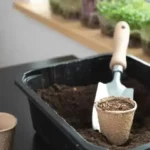
Before light is introduced to your microgreens, plants are typically covered and left in total darkness. This blackout period may last several days, but each variety is different, so it’s best to check the seed labels and experiment independently for the best results.
The chief aim of the blackout period is to allow your seeds to germinate correctly in darkness, much the same way they would grow if you had sowed the seeds in your backyard garden. Before the sprouts emerge from the soil and into the light, they grow in covered dirt, kept moist and cool.
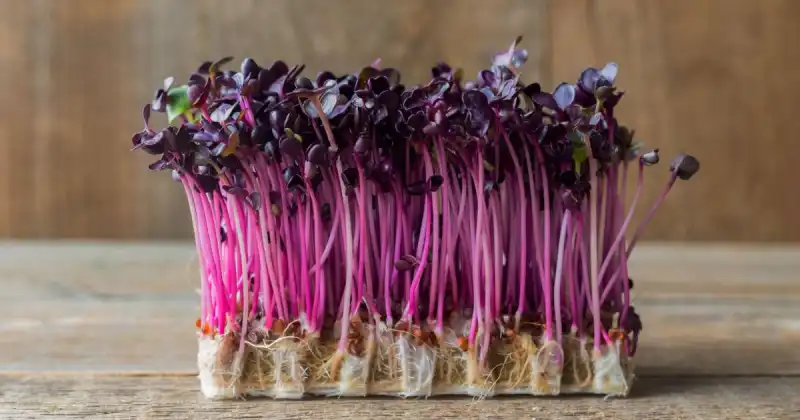
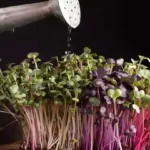
After a few days, and once the cover or blackout dome is removed, it is time for your tiny sprouted seedlings to become exposed to plenty of nourishing light. Plants will likely look pale and sickly emerging from their dark cover, but that does not necessarily indicate a bad crop. They only appear this way because they have yet to undergo photosynthesis, which only occurs once your plants are exposed to light. Over the next few days, you should begin noticing a distinct greening of your plants.
Brighten Up Your Microgreen Garden: The Do’s And Dont’s Of Lighting Your Microgreens
Several critical factors come into play when applying light to your microgreens, including:
- There Is Strength In Darkness
- Natural And Artificial Light Sources
- Finding The Ideal Spacing Between Your Greens And Lights
- When To Illuminate Your Micros For Optimal Growth
- Signs And Symptoms Of Insufficient Light
Let’s take a closer look at these categories so you’ll better understand how to brighten your tiny plants throughout their growing cycle.
Importance Of Darkness
As previously mentioned, microgreens need darkness to grow because they need time to absorb water and any potential nutrients required for their quick germination. During this phase, microgreens depend on the stored energy within the seed to sprout while simultaneously developing roots that dive into your growing media, be it soil, coco coir, or another alternative medium.
Check Lowest Prices On Coco Coir
This initial inky germination phase typically lasts between 3-5 days after sprouting. Afterward, the seedlings must rely on photosynthesis to continue producing energy for growth, so consistent light must be provided.
This darkness or blackout period is necessary for microgreens as it allows for the development of strong roots and stems before the plants focus on producing leaves.
Throughout this blackout phase, some growers place a weighted tray or other resistance atop their seed containers or trays. Although not required, some micro gardeners believe this added resistance strengthens and solidifies the seeds and deepens the roots within the media, providing them a strong start within the beginning stages of their germination.
However, not all micro varieties enjoy weight. As mentioned, as long as you keep your media evenly wet but not saturated, most seeds will grow well after this blackout period.
Light Exposure: Artificial vs. Natural
Microgreens need to be exposed to light as soon as the seedlings come out from blackout to help kickstart the photosynthesis process, which is essential for their growth throughout the rest of their lifecycle. However, delaying light exposure, even for a day, can lead to weak and spindly (thin) seedlings, negatively impacting the quality and yield of your resulting harvest. 2
If you are using artificial light, providing 12-18 hours per day is recommended to ensure the best overall growth for your microgreens. However, if you are using natural light, providing 5-8 hours of sunlight under some filtered shade is vital to prevent scorching. This shade can be achieved by placing the microgreens in an area that receives adequate sunlight while providing some shaded relief that helps protect them from direct sunlight, which may ultimately burn your plants and dry your growing media.
If using artificial grow lights, it’s important to note that the amount of light required for microgreens may vary depending on the type of plant you sow and your region’s growing conditions. Some plants may require more or less light, and the light intensity emitted may need to be adjusted depending on several factors, including temperature, air circulation, and humidity. Therefore, monitoring the growth of your microgreens and changing the light as necessary can help you achieve the best possible results.

Natural Light (Daylight) vs. Sunlight For Growing Microgreens
Natural light or daylight best describes the cool, blue light entering a north-facing window without direct sunlight. More simply, this natural light is the light that comes from the clear blue sky. Conversely, sunlight has a warm, yellow hue, similar to the gentle rays of the early morning sun that seep through your windows, casting long shadows.
Although the distinction between natural light and sunlight may be difficult to discern, understand that natural light (daylight) can be a good lighting source if you have access to a sunny windowsill or a well-lit room for at least half the day. However, if this presents a challenge, consider providing more light intensity or consistency for optimal growth of your plants to achieve fuller, more abundant yields.
Although natural light can be a good alternative, sunlight is the better illumination source for growing your microgreens. This is because sunlight provides the full spectrum of light that microgreens need to flourish and mature and is also the most sustainable light source.
Pros & Cons
Natural light can be an advantageous option for growing microgreens because it is free, easily accessible, and provides a complete light spectrum in the 6500k range. Additionally, because it’s natural, it doesn’t require wiring or timers, making it a simple, easily accessible, and hassle-free option.
However, some disadvantages exist in relying solely on natural sunlight for microgreen growth. Sunlight can be inconsistent due to changes in seasons and unpredictable weather patterns, leading to potentially uneven and spotty growth within your crop.
Additionally, the excess heat produced by sunlight can negatively impact microgreens’ growth, especially in arid climates or during the warmer summer months. Further, natural light may not work well in vertical rack systems, and it may cause your greens to stretch, become leggy, and even slow growth in some scenarios.
Check Lowest Prices On Microgreens Growing Racks
Therefore, supplemental and artificial lighting, such as LED grow lights, may be necessary to ensure healthy and consistent growth year-round.
Ideal Spacing Between Microgreens And Lights: Finding The Sweet Spot
It is essential to consider the distance between your grow lights and microgreens. Generally, lights should be positioned anywhere from 10 to 12 inches above the microgreens. However, the type of light source and the specific microgreen variety you’re growing can affect the ideal distance, as some lights generate excessive heat that may damage your plants if placed too close. 3

Fortunately, LED strip lights typically do not produce enough heat to cause problems and can be safely placed anywhere from 6-12 inches from your growing greens. However, if the plants are too far from the light source, their stems may needlessly overstretch toward the light creating a thinning, leggy crop. Therefore, consider panel lights, which provide higher intensity and can be positioned farther from the growing surface without compromising light intensity.
Check Lowest Prices On Microgreen Barrina Grow Lights
Optimal Hours For Growth
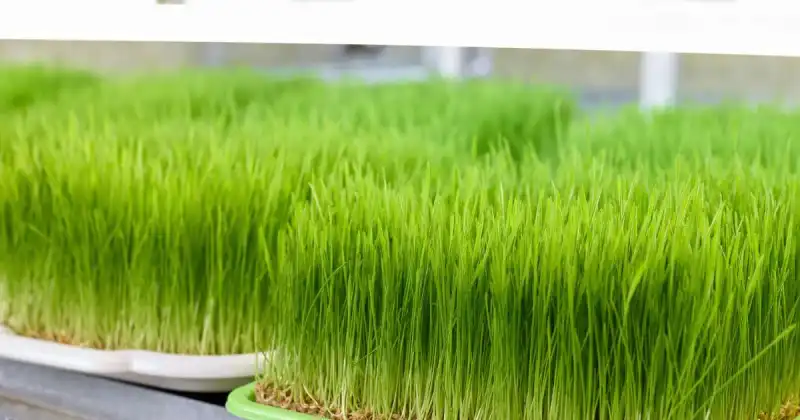
Growing microgreens consistently well will require at least six hours of light. However, their production potential is much greater when exposed to light for 18 hours, followed by six hours of darkness or rest. Some growers prefer a 12-hour light and 12-hour dark schedule, but extending this light period can encourage faster growth. Generally, providing 12-18 hours of artificial light per day is sufficient for microgreens, while 5-8 hours of sunlight is ideal under natural light.
It is important to note that different microgreen seeds have varying growth rates, even with the same light exposure. Therefore, monitoring and adjusting the light duration and intensity is crucial based on the seed’s growth progress and requirements.
Signs Of Insufficient Light In Microgreens
As mentioned above, once microgreens are removed from their blackout period, they usually appear yellowish due to the lack of photosynthesis by chlorophyll in the leaves. However, once exposed to light, they will begin turning green quickly. If your microgreens remain yellow and fail to turn green, it could be due to another, more severe issue, including overwatering, a soggy growth media, or insufficient light.
Some microgreen growers use PAR (photosynthetically active radiation), which is the amount of light that plants use for photosynthesis. Some use an Apogee Instruments Quantum Flux Car (a gadget that detects stray photons) to measure the light output from different heights above the microgreens.
The video below explains a general setup that any humble microgreens grower would be proud to use and operate. This video also details the potential electrical requirements that should be factored into your production if you decide to expand. Consult a licensed electrician if you have further questions about your electrical needs.
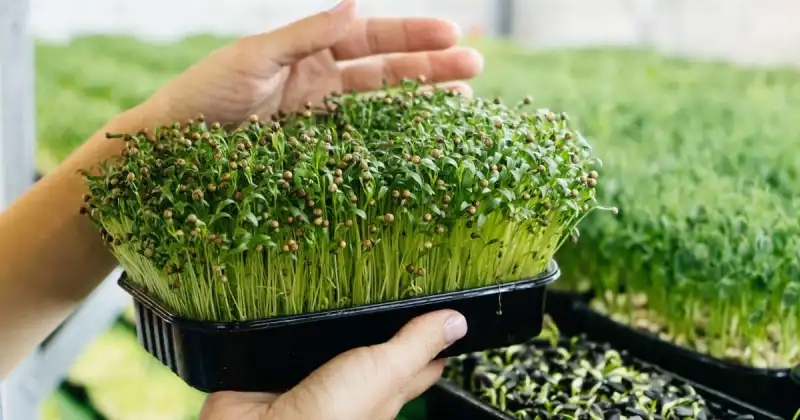
An excellent example was a study where trays were placed at a standard distance from the light source and those positioned closer at only 1.25 inches from the light. The closer trays showed a boost in PAR, but this did not translate to a significant increase in the harvest weight. However, the appearance of the microgreens was better in the trays placed closer to the light, with more purple coloration in the stems. As to the taste of the microgreens, those grown at the standard distance were rated to have better flavor.
Check Lowest Prices On T8 Microgreens Grow Lights
As a micro grower, it will be up to you to decide which is more critical, yield or taste. Experiment with what you enjoy, and remember to make it a fun experience involving the entire family.
Microgreen Grow Light Options
There are numerous basic options when it comes to microgreen grow lights. Some popular options include:
- Fluorescent Shop Lights – Affordable and Available Option
- Fluorescent Lights (T8) – Energy-Efficient Option with Good Spectrum
- Fluorescent Lights (T12) – Less Energy-Efficient Option with Suboptimal Spectrum
- Incandescent Lights – Not Recommended for Microgreens
- Metal Vapor Lights – Expensive Option for Faster Growth
- LED Bulb Shop Lights – Low Energy Consumption with Long Lifespan
- LED Strip Grow Lights (T5) – Flexible and Energy-Efficient Option
- LED Panel Lights for Growing Microgreens – High Intensity and Full Spectrum for Optimal Growth
Alternative Option: Barrina Lights
The Barrina lights are another popular choice among microgreen growers due to their low profile, ease of installation, and compatibility with lighting timers. However, as mentioned above, growers should regulate the light cycle to ensure optimal growth in their greens; around 16 to 18 hours of light per day is ideal. 4
Check Lowest Prices On Microgreens Grow Lights
The Barrina lights have received many positive customer reviews, indicating their reliability and effectiveness for microgreen growth. However, growers should always select the grow light option that fits their needs and budget, ensuring it provides the right light spectrum and is positioned at the optimal distance from the microgreens.
Here’s a great video explaining how different lights can affect microgreens’ growth patterns and habits. Remember, full-spectrum lights, those that emit a yellow glow, and daylight spectrum lights that mimic daylight are just a few of the lighting options you can choose to use in your micro grow room.
Factors Affecting Microgreen Lighting
Several factors can affect the lighting needs of microgreens, including:
- Color Temperature
- Light Intensity
- Relationship Between Light Spectrum And Kelvin Scale
Let’s take a look and discuss each of these vital lighting needs.
Best Color Temperature For Growing Microgreens
Microgreens require a specific color temperature of light to grow properly. The ideal color temperature for growing your plants is between 4500K-6500K, ranging from cool white to daylight white light. This range of color temperature provides the optimal spectrum of light for promoting healthy and consistent plant growth throughout the short lifecycle of your crops.
When cultivating microgreens over 20 days, growers should consider upgrading their lights to produce a color temperature above 4500K. The light spectrum is measured in kelvins (K), and most grow lights range between 2000K to 6500K. The color temperatures between 2000K to 3000K are referred to as “warm white,” which gives off an orange to yellow-white light, while those between 3100K to 4500K are referred to as “cool white” and emit neutral white light. 5
For microgreens with a growing cycle lasting longer than 20 days, like some herbs, for example, a blue-white light with a color temperature above 4500K is ideal as it mimics daylight.
Ideal Light Intensity For Microgreens
The ideal light intensity for microgreens depends on the type of light being administered and the specific stage of growth your microgreens are currently in. Microgreens can be grown anywhere between 100-250 µMol/m2/s PPFD. Higher light levels typically grow more compact, spicy, vibrant crops, but this may not be universally preferred. Growers can measure light intensity using a light meter and following the manufacturer’s recommendations that are included for their preferred light source.
While most growers know of LED lights, PPFD is an entirely different matter. The Photosynthetic Photon flux (PPFD for short) measures the amount of photosynthetic light that contacts the canopy of your microgreens. PPFD is measured in µMol/m2/s or micromoles per square per meter per second.
While all of this may sound like gibberish, growers must realize their indoor lighting requirements so their plants achieve maximum production. PPFD is a good way of attaining this, and studying any PPFD charts before purchasing LED grow lights is time well spent.
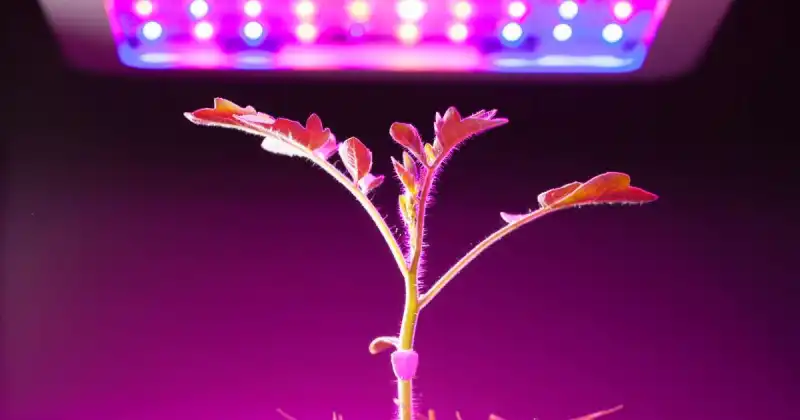
Relationship Between Light Spectrum And Kelvin Scale In Microgreen Growth
The Kelvin scale is commonly used to measure the color temperature of light, and growers should select a light source that provides the appropriate spectrum of light for developing their microgreens. Micros require a full spectrum of light, including red light for fruiting and flowering and blue light for vegetative growth. Therefore, the color temperature of light is closely related to the light spectrum and can significantly impact microgreens’ development and nutritional quality.
Overall, understanding the factors that affect microgreen lighting is crucial for growing healthy and nutritious crops. Growers should select a light source that provides the appropriate color temperature and light intensity for the specific growth stage of their microgreens. Additionally, monitoring light intensity and spectrum can help ensure your microgreens receive the optimal light for healthy growth.
Potential Issues With Grow Lights
Generally, several common issues arise when it comes to growers facing challenges with their grow lights. One of the most frequent is the strength of the light, which, if not adjusted accordingly, may burn your delicate microgreens. Likewise, due to their potential heat discharge, grow lights can cause the tops of your plants to wilt, effectively stunting their growth if the lights are positioned too close.
Grow Lights Are Unnecessarily Too Strong
Overexposure to grow lights is a common problem that can cause extensive damage to microgreens if not addressed promptly. When lights become too powerful or are left on too long without providing the plant with relief or rest, the leaves of your fragile plants can become discolored and even scorched, leading to stunted growth, dry growing media, and even the death of your crop. 6
Check Lowest Prices On Microgreens Grow Light Timers
Therefore, growers must be careful and diligent when using grow lights for their microgreens. It is essential to monitor the distance between the lights and the plants, especially as they continue to grow and the intensity of the light being emitted. In addition, growers should verify that the tops of their plants stay within the preferred distance of the lights.
By taking precautions, being observant, and making the proper adjustments, you can avoid overexposure to light and produce healthy, nutritious microgreens without worry.
Tips For Avoiding Common Issues With Microgreen Lights
To avoid common issues with microgreen lights, growers should consider these helpful tips:
- Select the appropriate light source for the specific growth stage of your microgreens and the different varieties you’ll grow.
- Monitor the distance between the lights and the plants to avoid overexposure and unnecessary damage.
- Use a light meter to measure light intensity and adjust the light source as needed. 7
- Use a timer to ensure your greens receive a consistent lighting schedule while avoiding overexposure or underexposure.
- Consider rotating the trays of microgreens regularly to promote even growth unless your lights already distribute light evenly.
- Avoid exposing microgreens to light during their initial germination phase, as they require darkness to sprout, develop strong roots, and get off to a great start.
Check Lowest Prices On Light Meters
With careful attention to lighting and other environmental factors, growers can avoid common issues with microgreen crops and produce healthy and nutritious crops consistently and quickly.
Conclusion
Lighting plays a vital role in growing tasty and nutritious microgreens. But remember, before offering your greens much-needed light, they will be coming out of their blackout period, likely looking weak and pale. By denying your germinating seeds light during their germination phase, you’ll help them become well-established within your growing media.
However, once placed outside or under grow lights in a more controlled setting inside, unless there is some underlining issue like mold, pooling water, or contaminated seeds, your plants should begin to turn green, signaling photosynthesis is taking place.
Growing these tiny plants means selecting grow lights that fit the specific growth stage of your plants. Additionally, you’ll want to keep an eye on the distance between the lights and the plants, use a light meter and timer for easier maintenance, and rotate your trays regularly if the light is not evenly dispersed over your containers.
It’s vital to remain patient, especially for new microgreen growers. By following these tips and selecting the right grow light that best serves you, you’ll be well on your way to a year-round supply of fresh and healthy microgreens!
Do you currently grow microgreens successfully? What lighting methods work well for you? We’d love to know, so meet us in the comments below and drop us a line!
SOURCES
- Frontiers – Continuous Lighting Can Improve Yield And Reduce Energy Costs While Increasing Or Maintaining Nutritional Contents Of Microgreens
- National Library Of Medicine, National Center For Biotechnology Information – Sprouts and Microgreens – Novel Food Sources For Healthy Diets
- ResearchGate – Enhancing Growth And Phytochemicals Of Two Amaranth Microgreens By LEDs Light Irradiation
- Wikipedia – Grow Light
- ASHS Journals – Different Microgreen Genotypes Have Unique Growth And Yield Responses To Intensity Of Supplemental PAR From Light-Emitting Diodes During Winter Greenhouse Production In Southern Ontario, Canada
- Wikipedia – Electromagnetic Spectrum
- MDPI – Can Light Spectrum Composition Increase Growth And Nutritional Quality Of Linum Usitatissimum L. Sprouts And Microgreens?
Related posts:
 How To Grow Microgreens At Home (definitive guide)
 How To Get Rid Of Mold On Microgreens (easy fixes)
 Do Microgreens Regrow After Cutting
 Microgreens vs Sprouts (uncover the differences and get growing)
 Choosing The Best Soil For Microgreens (the secret to success)
 How To Water Microgreens (your in-depth guide)
